Today is a second stab at a Vegas design for Chelsea. Trying to capture the glitz and glam of Vegas with some nail art detail. There's three different type of nails which can be worn as is or used on every single nail. I've tred to mix it up a bit as my last attempt was OTT nail art detail. Hope you like it!...

So step by step.. here goes
Start with the base colour on all nails. The glittered nails have a black base, I used Max Factor Nailfinity in Onyx. The cream is No7 Anniversary Colour in 60's Mini Skirt and the index finger has a deep green to match poker table felt.. I used Ruby & Millie Nail Colour in Green 720C .
 |
| Step 1 |
Once dry, add a glitter polish to the black nails. I've chosen one with lots of different colours, Nail Polish by H&M in Confetti, but you could use a single colour... anything glitzy basically!
 |
| Step 2 |
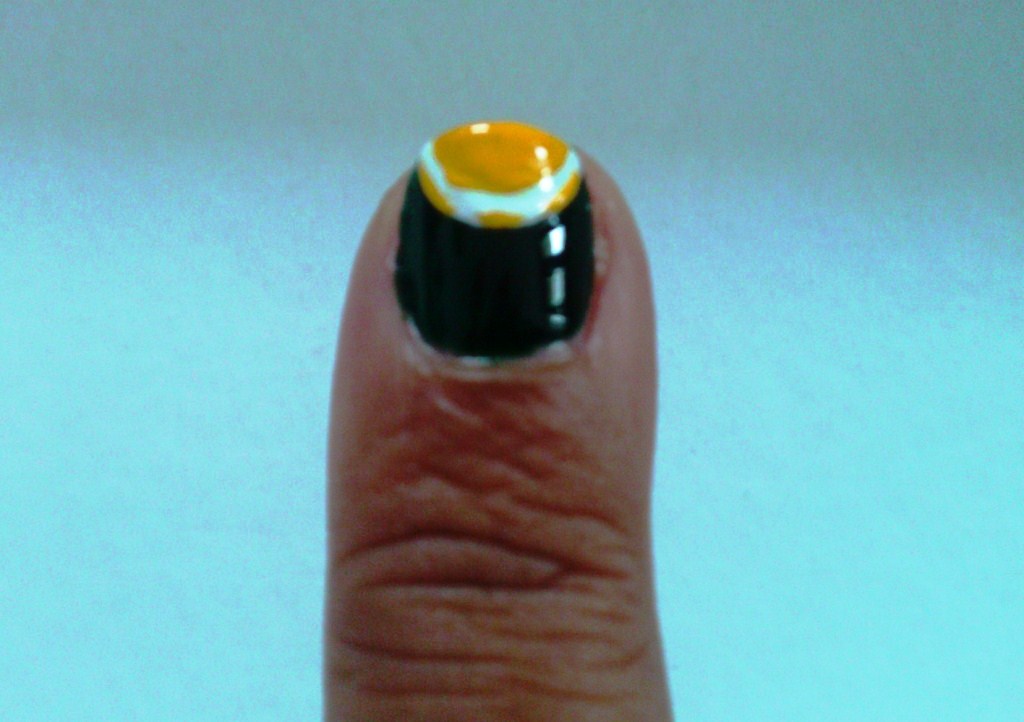
Now to both index fingers, using a white nail art pen, add a semi circular tip guide line.
 |
| Step 3 |
Then fill the circle in with a white polish such as Barry M in Matt White.
 |
| Step 4 |
While that's drying, use the dotter on a black nail art pen to create the dice pattern on the middle fingers. You can pick whichever numbers you'd like but I think 5 and 6 look more obviously like dice.
 |
| Step 5 |
Once the white semi circles have dried you can add the poker chip detail... this is the most difficult part.
 |
| Step 6 left |
Draw a smaller semi circle using a primary colour, leaving a small white border - it helps to use a nail art pen or small brush for accuracy. Then add detail to the white border creating a broken line of two long dashes and one shorter dash in the middle.
 |
| Step 6 right |
Then finally add the top have of the chip value numbers. Pick whatever numbers you find easiest to draw.
 |
| Step 7 |
If needs be, add a second coat of glitter to the black nails, then finish off with a a quick dry top coat to all nails. Viva Las Vegas!
Happy painting... the nailist xxx


Ya Dear
ReplyDeleteReally a nice information....................
nails las vegas